A couple of years ago I spent many happy hours writing APL code to control robots which each embedded a Raspberry Pi. It was fun but it was a bumpy ride – my interest eventually faded when I discovered that it was just too difficult to make sense of raw accelerometer data, which I was hoping to use for precise navigation. After I managed to fry my MPU-9150, I decided to pursue other interests, as they say.
Recently, Romilly Cocking has been waxing lyrical about a number of new components which he thinks will make the whole experience more enjoyable – and I have decided to dive back in. So far, it has indeed been a very pleasant experience.
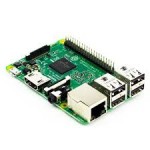
The Raspberry Pi Model 3
 While I was away, the Raspberry Pi and the software available for it have come a VERY long way. The speed of a Pi 3 makes it a perfectly usable computer. I am writing this blog entry on the Pi using a standard Chromium browser. APL starts up immediately, using our new graphical IDE. It is quite simply amazing!
The BBC micro:bit and MicroPython
The first generation of APL-based robots used an Arduino to manage the motors and sensors because timing was too critical for the Pi to handle it. I spent some rather unhappy hours writing a control program in C, debugging that without any tools. You could not even do “printf debugging” to the serial port because that interfered with the timing so much that it stopped everything from working.
Romilly suggested I take a look at the micro:bit, and since I have been using an interactive REPL all my life, he suggested that I run MicroPython on it.
He was right, I’m loving it!
Getting Started
I purchased the Kitronik Inventors’s Kit for the micro:bit from Pimoroni, and quickly found videos on Youtube explaining how to assemble it. I installed the “mu” editor on my Pi and was immediately able to edit a simple Python program and run it on the micro:bit.
My next step was, of course, to create a little class to drive MicroPython from APL. This involves using serial I/O: when the micro:bit is attached to your Pi via USB it appears as a folder and as a serial (tty) device, typically /dev/ttyACM0. You can find my code in the APLPi/microbit GitHub repository.
If you clone the repository to /home/pi/microbit and start APL, you can make calls to the MicroPython repository along the lines of:
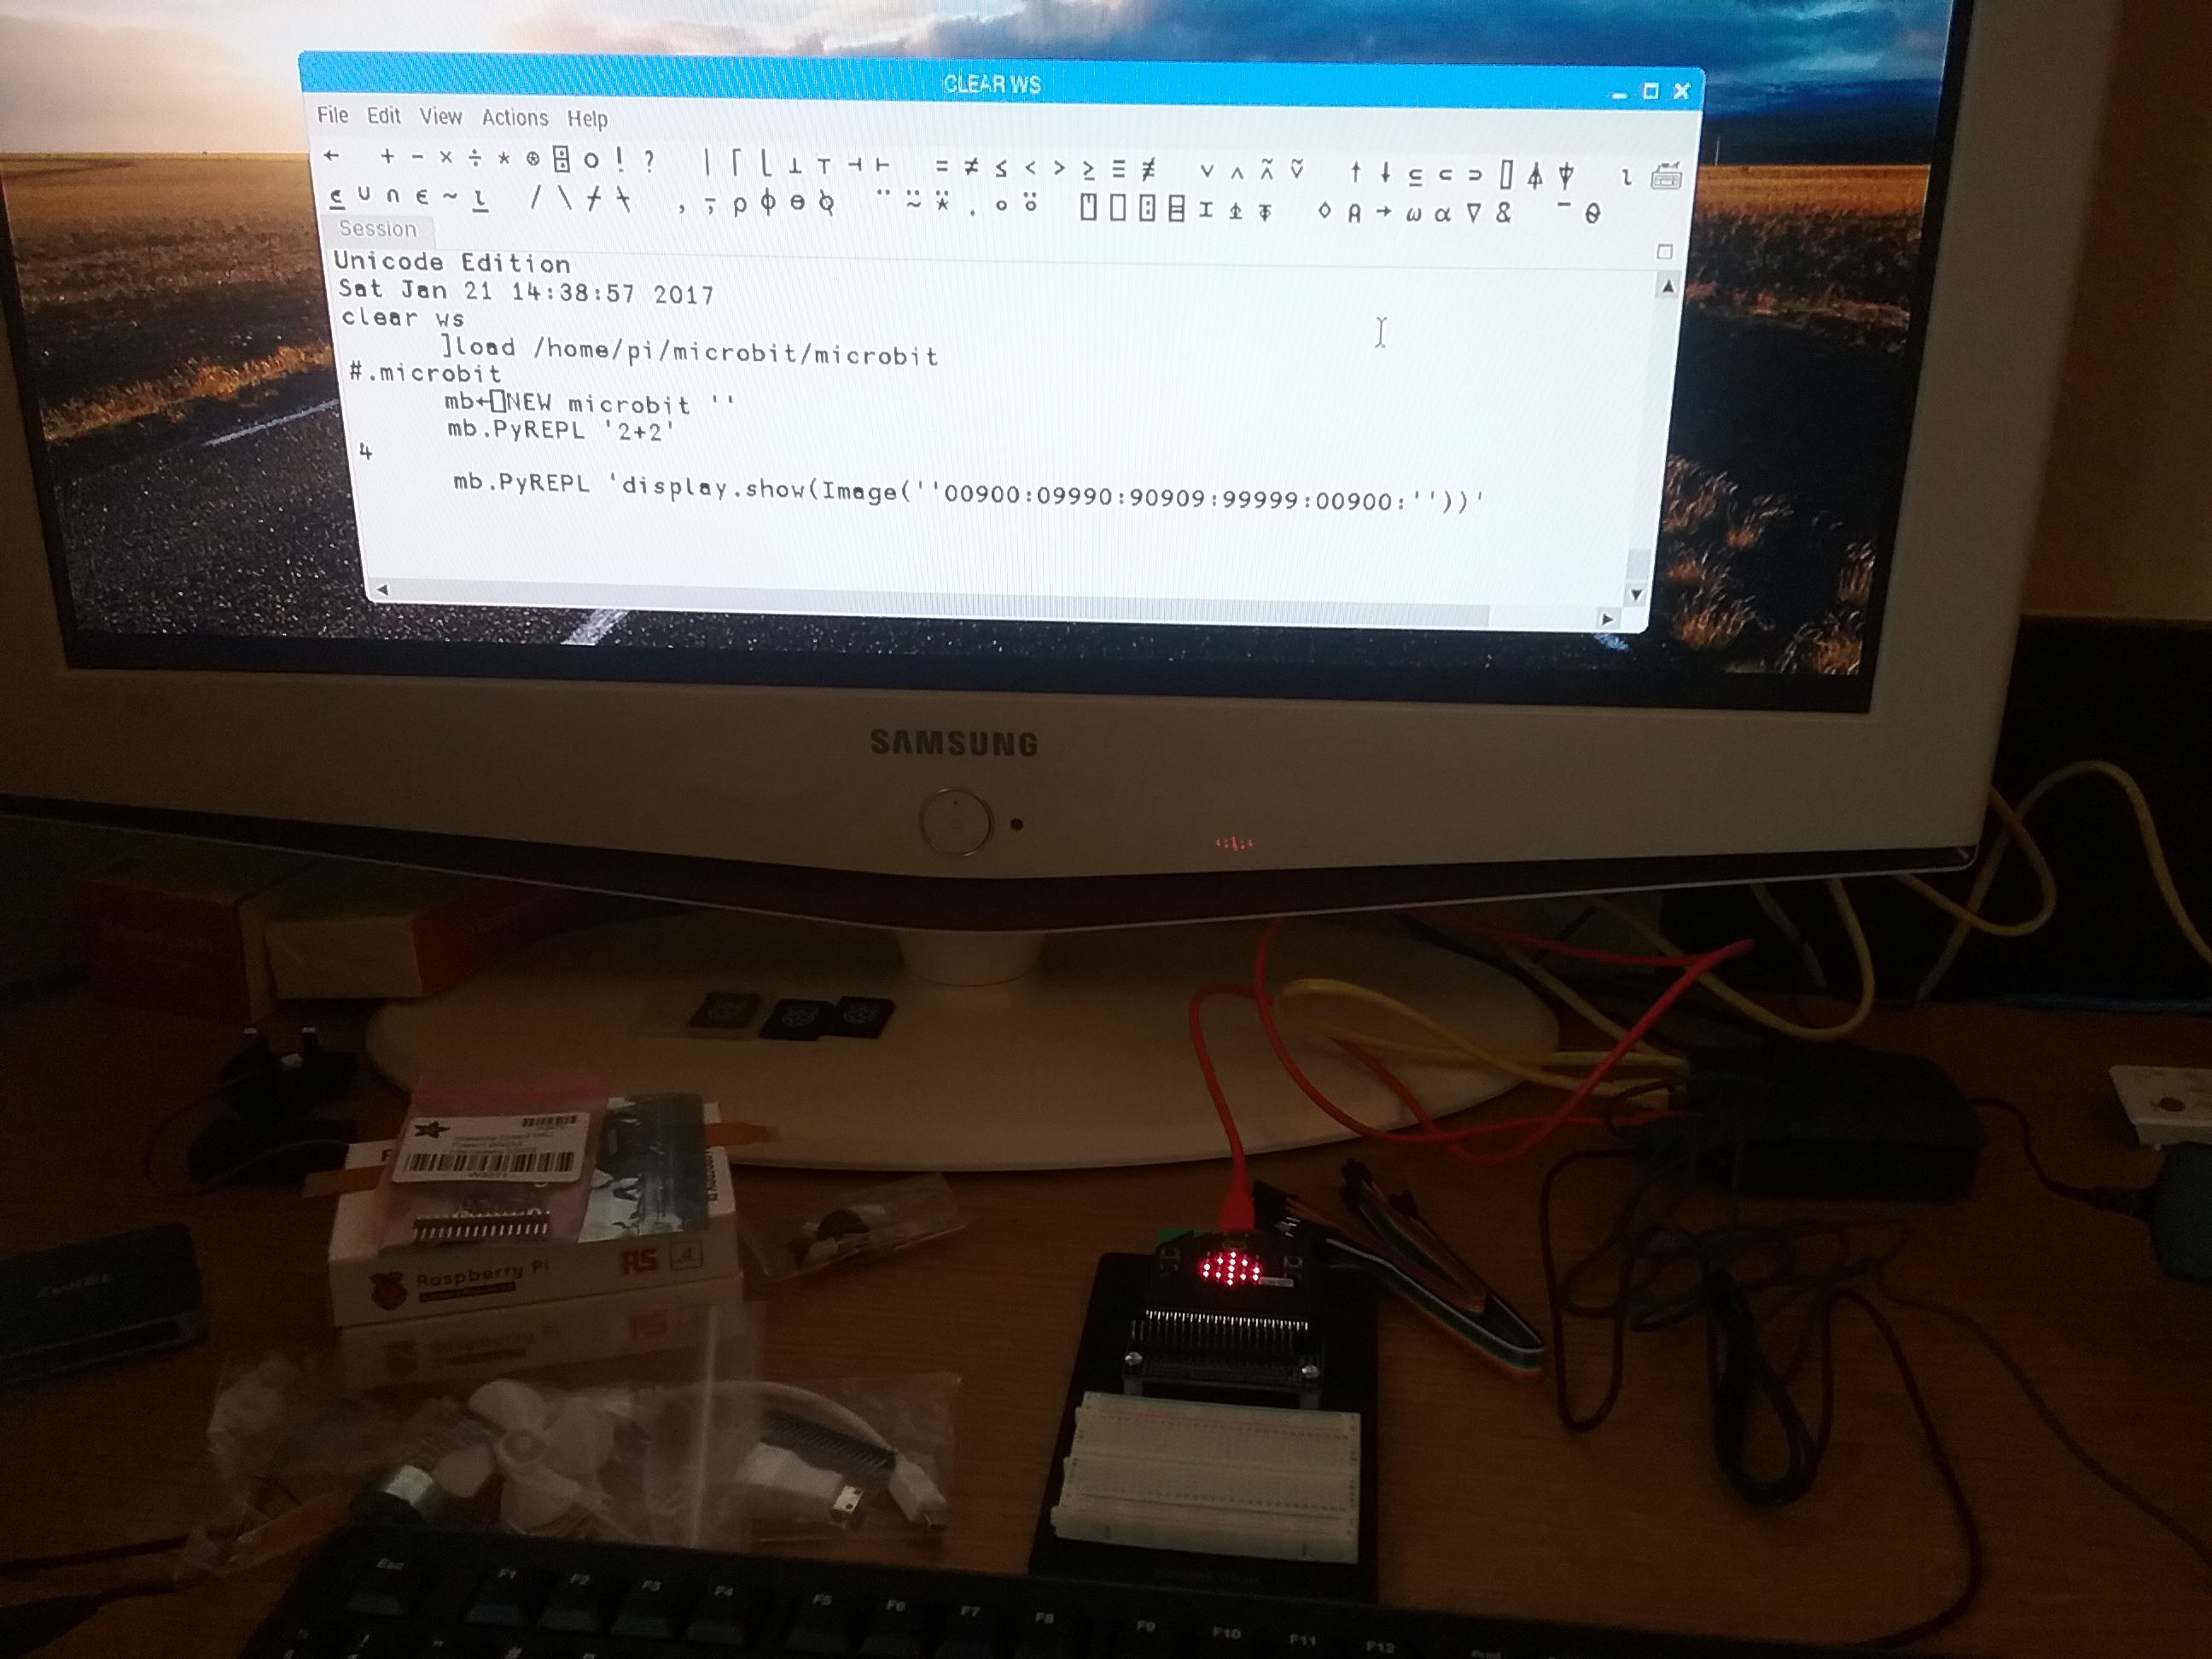
    ]load /home/pi/microbit/microbit
    mb←⎕NEW microbit ''
    mb.PyREPL '2+2'
4
Using Python on the micro:bit to do maths isn’t that interesting when you have APL on the Pi; the exciting thing is that we can call the micro:bit Python API and access the hardware. My first experiment was to display my favourite APL symbol (Grade Up – aka Imperial Cruiser) in the built-in 5×5 LED display:

Which of the Inventor’s Kit experiments would you like to see me do next?

